Physical Address
304 North Cardinal St.
Dorchester Center, MA 02124
Physical Address
304 North Cardinal St.
Dorchester Center, MA 02124

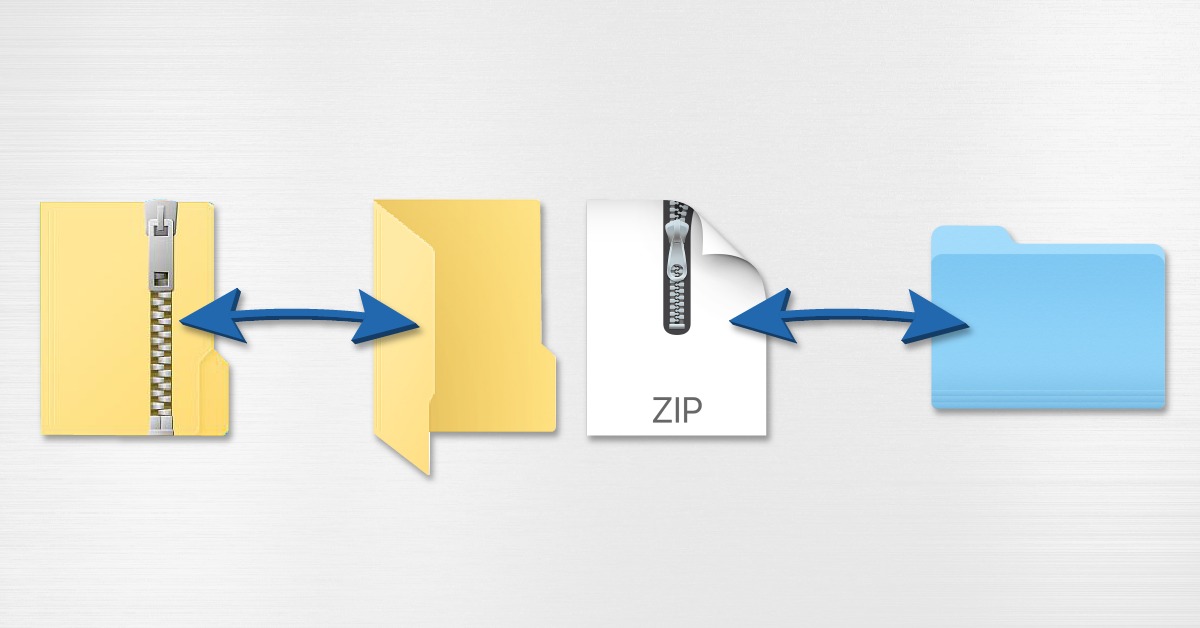
Managing your digital files efficiently often requires compressing them into a single archive. Whether you want to save hard drive space, clean up a messy folder before backing it up, or combine multiple documents into a single attachment for an email, knowing how to zip and unzip files on Windows is an essential skill.
In this comprehensive guide, we will walk you through every native method available on modern Windows operating systems to compress and extract files without ever needing to install third-party software.
Before diving into the steps, it helps to understand what archiving actually does. A ZIP file is a single container file that holds one or more files and folders in a compressed format.
By compressing data:
.zip archive.Windows has built-in compression tools that let you create archives instantly using right-click context menus. No external downloads are required.
When someone sends you a ZIP archive, or you need to access the contents of your own compressed backup, you must extract (unzip) the files before you can edit or run them normally.
.zip archive in File Explorer.If you are in a rush and just want to unpack a zip file directly into the folder you are currently viewing without creating extra confirmation prompts:
.zip file to open it directly inside File Explorer like a normal folder.| Action | Windows 11 Steps | Windows 10 Steps |
| Create a ZIP File | Right-click selection > Compress to > ZIP file | Right-click selection > Send to > Compressed (zipped) folder |
| Extract a ZIP File | Right-click archive > Extract All… > Extract | Right-click archive > Extract All… > Extract |
| Quick View | Double-click to browse contents without extracting | Double-click to browse contents without extracting |
By mastering these built-in tools, you can easily organize, compress, and share any collection of documents or project files on Windows in seconds.