How
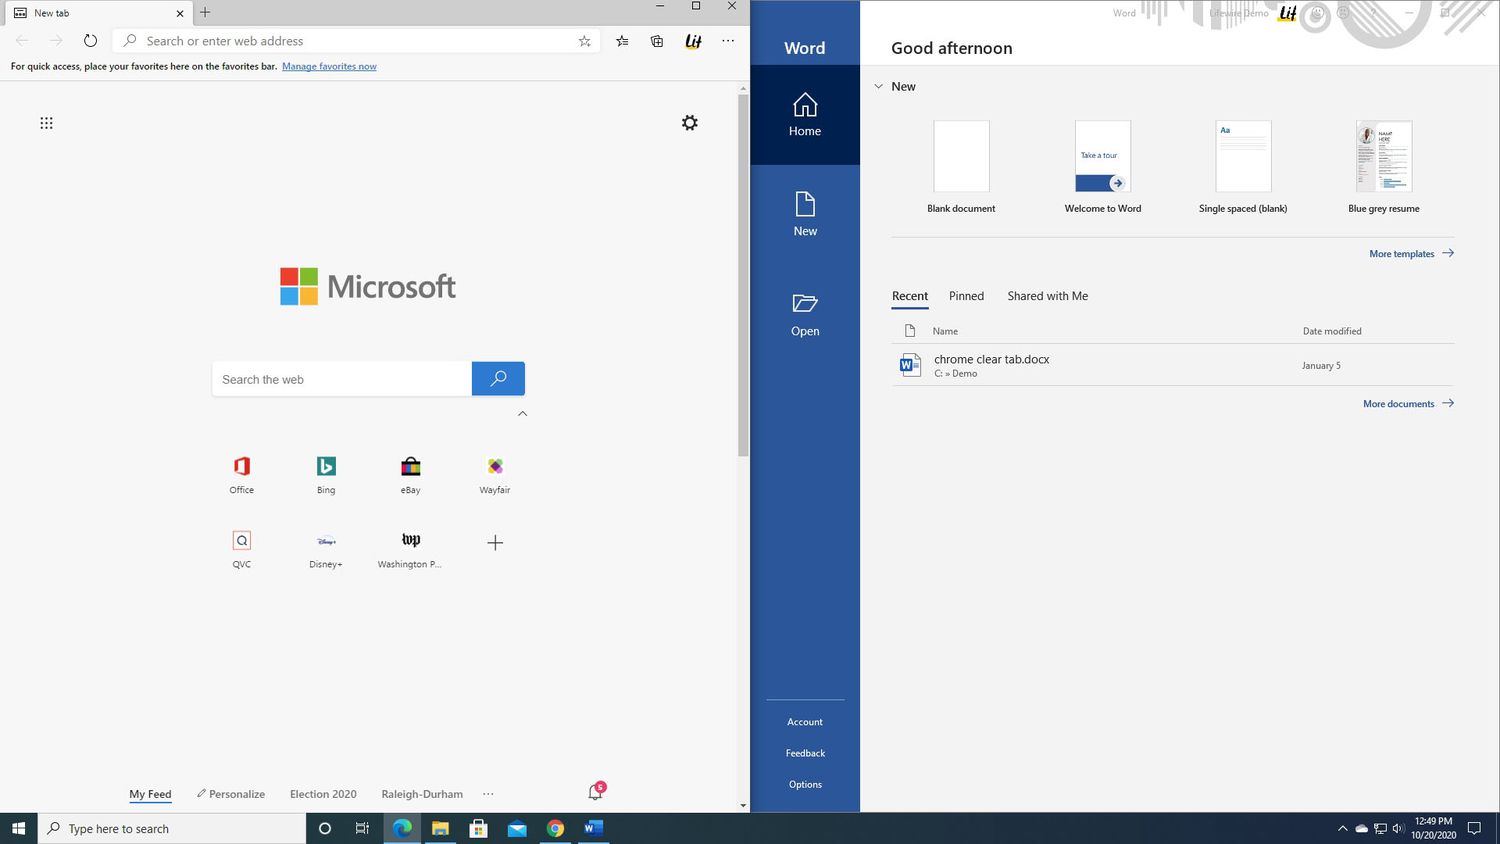
Multitasking is essential for productivity. Windows 11 makes it incredibly easy to snap multiple windows side-by-side using a built-in feature called Snap Layouts.
Here are the three easiest ways to split your screen in Windows 11.
Method 1: Using the Mouse (Snap Layouts Menu)
This is the most visual way to organize your workspace.
- Hover your mouse cursor over the Maximize button (the square icon in the top-right corner of any active window).
- A pop-up menu showing various layout options will appear.
- Click on the layout where the screen is divided evenly into two halves.
- Windows will snap your current window into place and prompt you to choose another open app for the remaining half of the screen.
Method 2: Using Keyboard Shortcuts (Fastest)
If you prefer working without touching the mouse, keyboard shortcuts take less than a second.
- Click on the window you want to move.
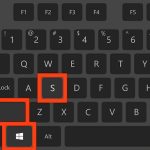
- Press Win + Left Arrow to snap the window to the left side of the screen.
- Press Win + Right Arrow to snap it to the right side.
- Windows will automatically display your other open windows to fill the opposite side.
Method 3: Drag and Drop
The classic drag-and-drop method works seamlessly on Windows 11.
- Click and hold the top title bar of the window with your mouse.
- Drag the window all the way to the left or right edge of your display until you see a transparent overlay appear on the screen.
- Release the mouse button, and the window will lock into place taking up exactly half of the screen.